Basic AWS Services Essential#
This guide will introduce you to how to use AWS Services that are essential for developers, especially those working on multi-agent systems and RAG pipelines. These services provide the necessary infrastructure and tools to build, deploy, and manage applications in the cloud effectively.
1. IAM (Identity and Access Management)#
IAM allows you to manage access to AWS services and resources securely. You can create and manage AWS users and groups, and use permissions to allow or deny their access to AWS resources.
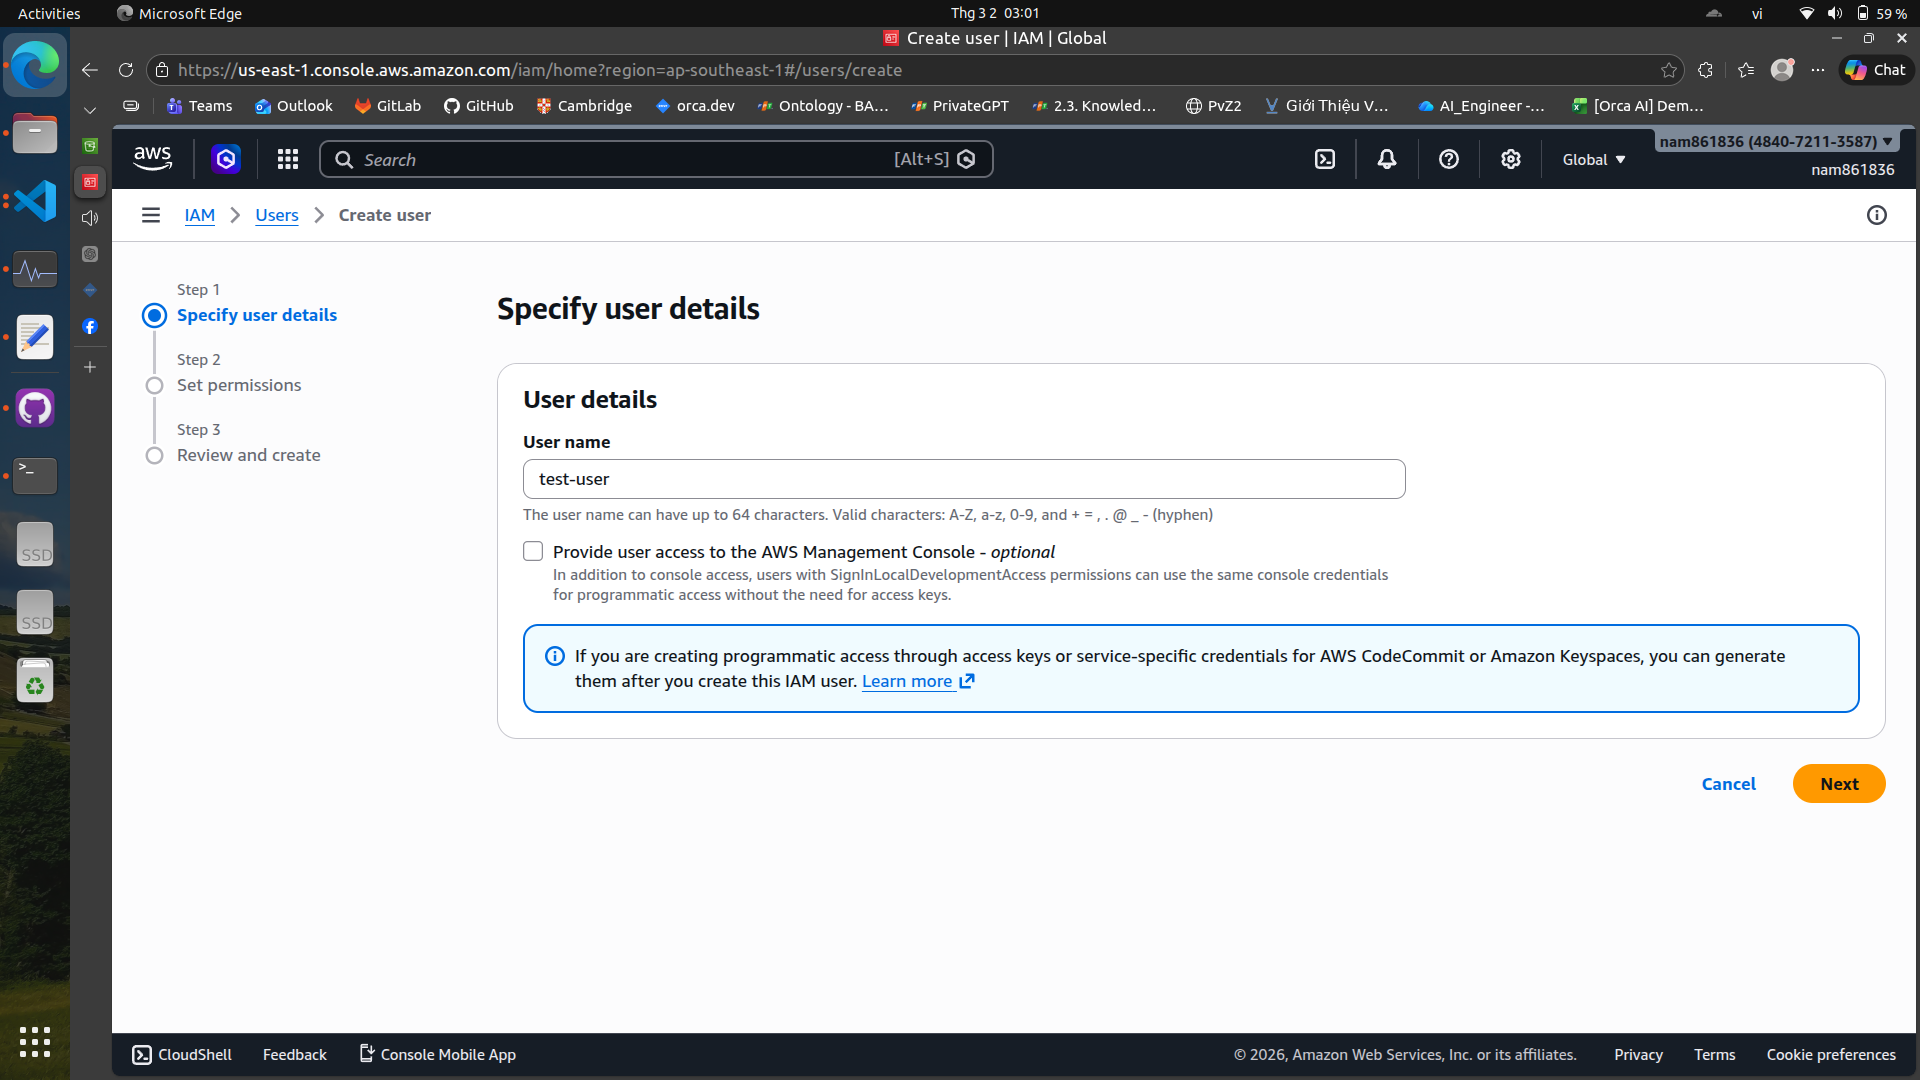
First, we will create a new user in IAM:\
Create a new user#
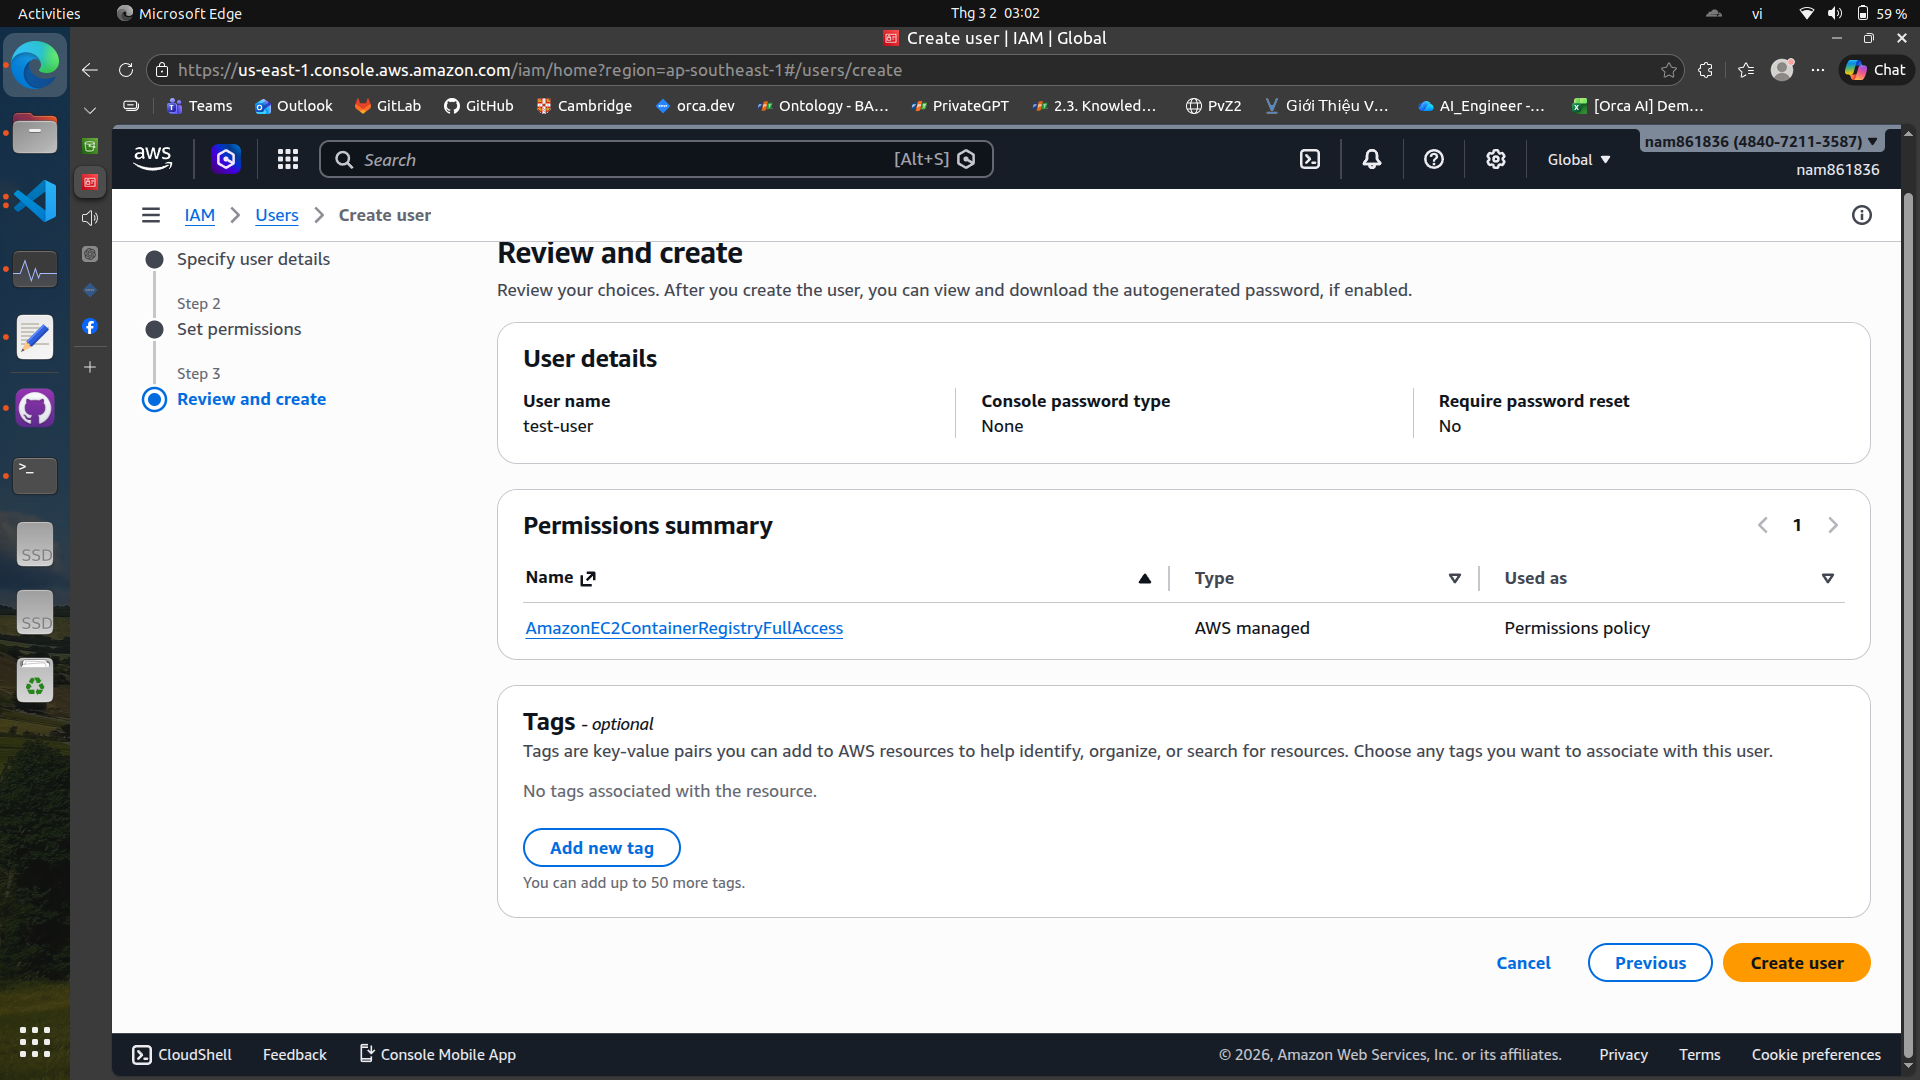 We can skip the permissions for now and create the user. After creating the user, we will generate an access key for programmatic access.
Create an access key#

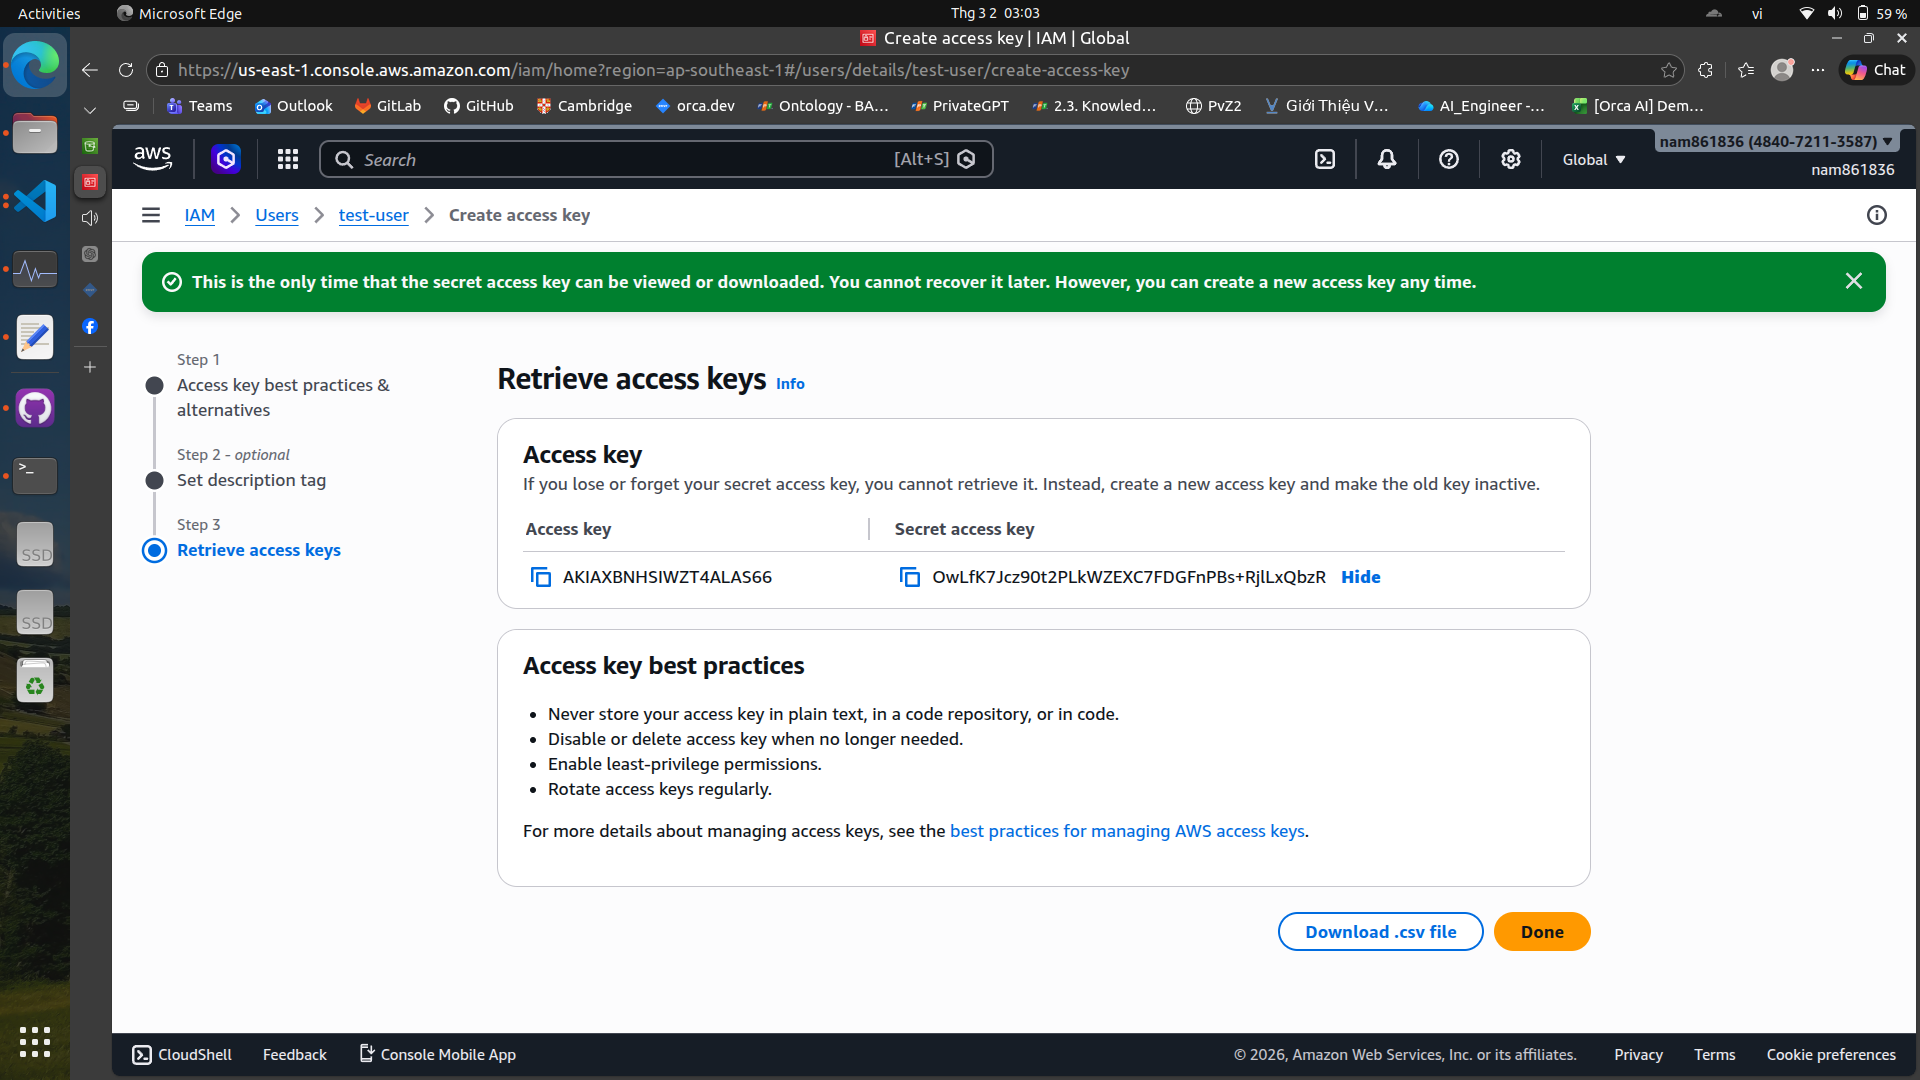 You can use these credentials to authenticate your applications and services when interacting with AWS resources.
Remember to install the AWS CLI and configure it with your access key and secret access key to manage your AWS resources from the command line.
Configure AWS CLI with your credentials#
aws configure
Use your access key, secret access key, region, and output format to complete the configuration. It will look like this:
AWS Access Key ID [None]: AKIAIOSFODNN7EXAMPLE
AWS Secret Access Key [None]: wJalrXUtnFEMI/K7MDENG/bPxRfiCYEXAMPLEKEY
Default region name [None]: ap-southeast-1 (or your preferred region, can skip if you want to set it later)
Default output format [None]: json (also optional, I skip this)
Additionally, you can also set these credentials in ~/.aws/credentials file directly
[user]
aws_access_key_id = AKIAEXAMPLEKEY123
aws_secret_access_key = yourSecretKeyExample
or using export command in your terminal
export AWS_ACCESS_KEY_ID="AKIA..."
export AWS_SECRET_ACCESS_KEY="..."
export AWS_DEFAULT_REGION="us-east-1"
Add permissions to the user#
After creating the user, we need to add permissions to allow the user to access the necessary AWS services.
There are two ways to add permissions: Add permissions directly on the web console or create inline policy and attach it to the user.

Some policies are not available in the policy generator, so we need to create an inline policy and attach it to the user.
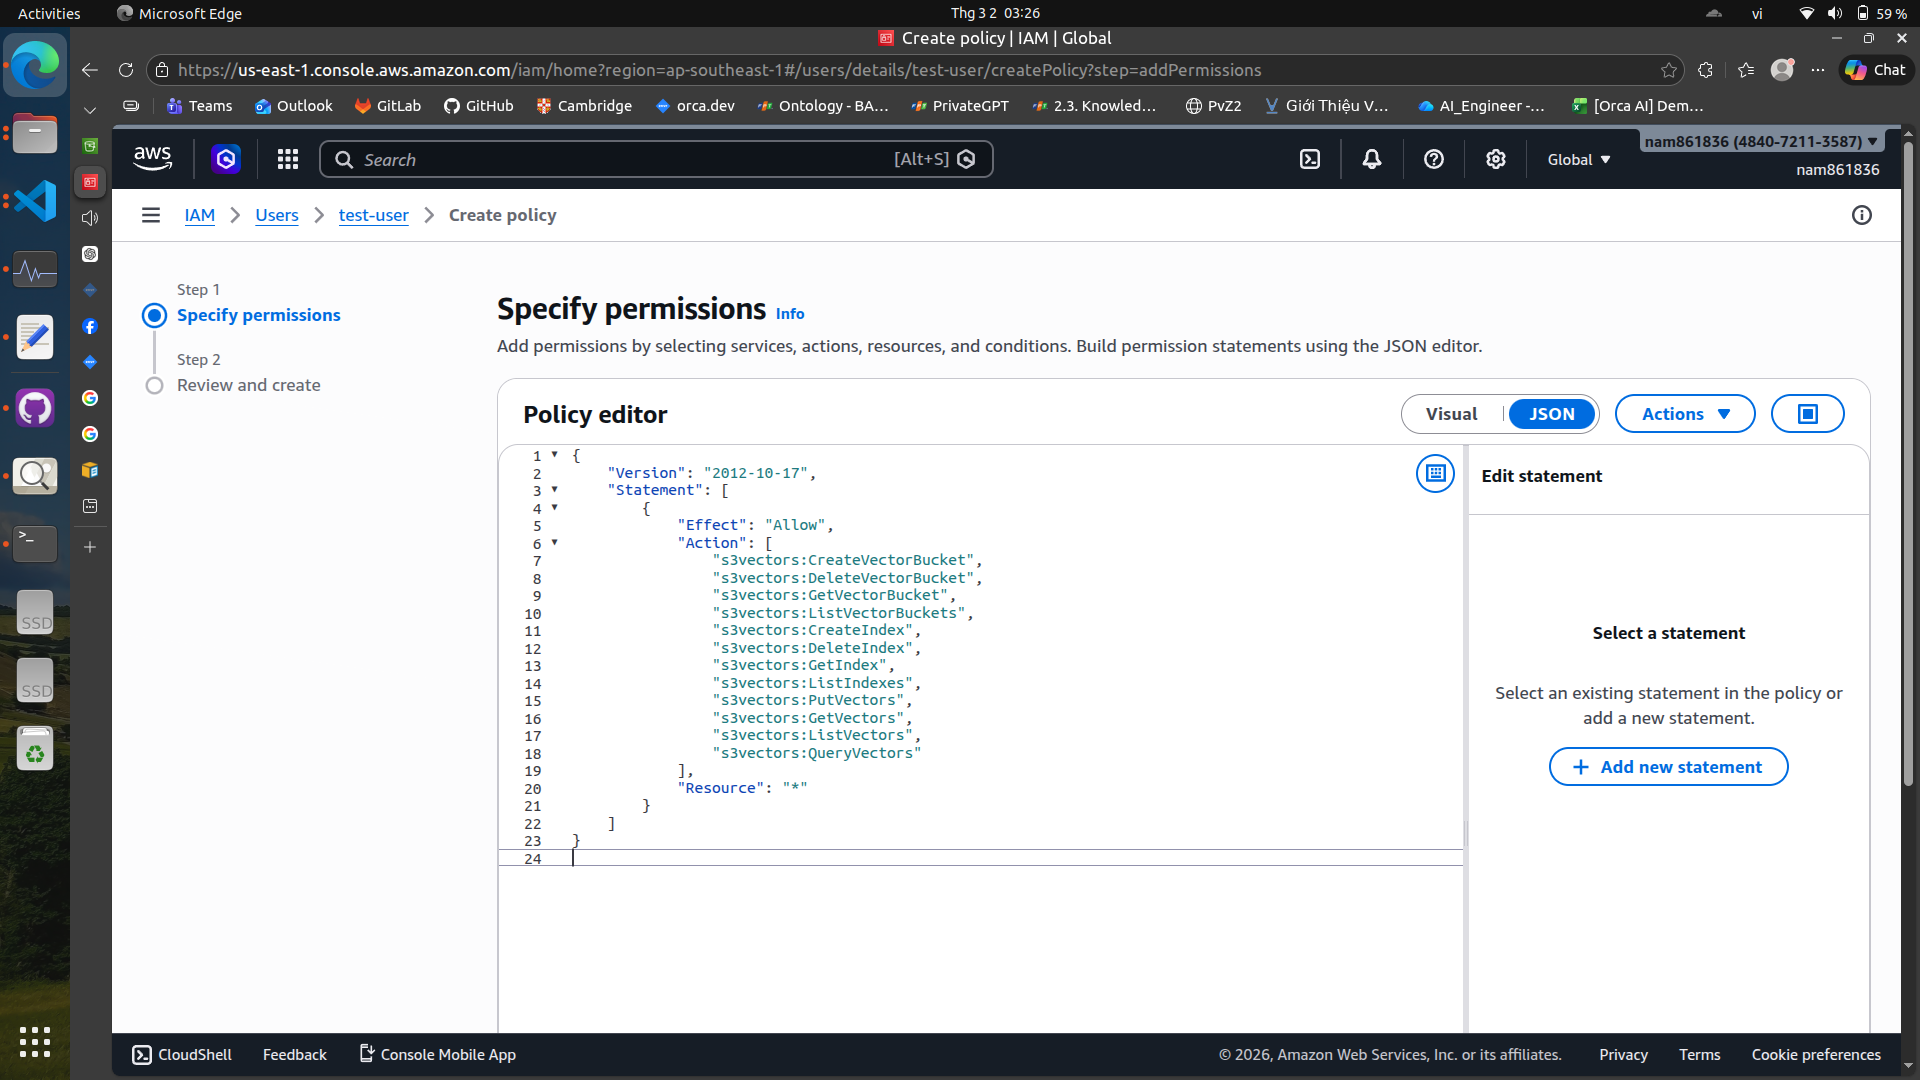
{
  "Version": "2012-10-17",
  "Statement": [
    {
      "Effect": "Allow",
      "Action": [
        "s3vectors:CreateVectorBucket",
        "s3vectors:DeleteVectorBucket",
        "s3vectors:GetVectorBucket",
        "s3vectors:ListVectorBuckets",
        "s3vectors:CreateIndex",
        "s3vectors:DeleteIndex",
        "s3vectors:GetIndex",
        "s3vectors:ListIndexes",
        "s3vectors:PutVectors",
        "s3vectors:GetVectors",
        "s3vectors:ListVectors",
        "s3vectors:QueryVectors"
      ],
      "Resource": "*"
    }
  ]
}
Now you are good to go!
2. Amazon Bedrock#
Amazon Bedrock provides serverless access to foundation models, enabling both language generation and embedding tasks.
from langchain_aws import ChatBedrockConverse
import logging
import json
import boto3
from botocore.exceptions import ClientError

logging.basicConfig(level=logging.INFO)
logger = logging.getLogger(__name__)

def list_foundation_models(bedrock_client):
    """
    Gets a list of available Amazon Bedrock foundation models.

    :return: The list of available bedrock foundation models.
    """

    try:
        response = bedrock_client.list_foundation_models()
        models = response["modelSummaries"]
        logger.info("Got %s foundation models.", len(models))
        return models

    except ClientError:
        logger.error("Couldn't list foundation models.")
        raise


def main():
    """Entry point for the example. Uses the AWS SDK for Python (Boto3)
    to create an Amazon Bedrock client. Then lists the available Bedrock models
    in the region set in the callers profile and credentials.
    """

    bedrock_client = boto3.client(service_name="bedrock")

    fm_models = list_foundation_models(bedrock_client)
    for model in fm_models:
        print(f"Model: {model['modelName']}")
        print(json.dumps(model, indent=2))
        print("---------------------------\n")

    logger.info("Done.")

    llm = ChatBedrockConverse(
    model_id="amazon.nova-lite-v1:0",
    region_name="ap-southeast-1",
    aws_access_key_id="<your-access-key-id>",
    aws_secret_access_key="<your-secret-access-key>",
    # aws_session_token=<your-session-token>,  # Optional, only needed if you are using temporary credentials
    # temperature=...,
    # max_tokens=...,
    # other params...
    )

    print(llm.invoke('hi, can you introduce yourself'))


if __name__ == "__main__":
    main()
There are also embedding models available in Bedrock, such as Titan v2 or Cohere:
import logging
import json
import boto3
from botocore.exceptions import ClientError
from langchain_aws import BedrockEmbeddings


logging.basicConfig(level=logging.INFO)
logger = logging.getLogger(__name__)

def list_foundation_models(bedrock_client):
    """
    Gets a list of available Amazon Bedrock foundation models.

    :return: The list of available bedrock foundation models.
    """

    try:
        response = bedrock_client.list_foundation_models()
        models = response["modelSummaries"]
        logger.info("Got %s foundation models.", len(models))
        return models

    except ClientError:
        logger.error("Couldn't list foundation models.")
        raise


def main():
    """Entry point for the example. Uses the AWS SDK for Python (Boto3)
    to create an Amazon Bedrock client. Then lists the available Bedrock models
    in the region set in the callers profile and credentials.
    """

    bedrock_client = boto3.client(service_name="bedrock")

    fm_models = list_foundation_models(bedrock_client)
    for model in fm_models:
        print(f"Model: {model['modelName']}")
        print(json.dumps(model, indent=2))
        print("---------------------------\n")

    logger.info("Done.")

    embeddings = BedrockEmbeddings(
    model_id="cohere.embed-english-v3",
    region_name="ap-southeast-1",
    aws_access_key_id="<your-access-key-id>",
    aws_secret_access_key="<your-secret-access-key>",
    )

    res = embeddings.embed_documents(["Hello world", "How are you?"])
    print(res)


if __name__ == "__main__":
    main()
3. Amazon S3 (Simple Storage Service)#
Amazon S3 is a highly scalable and durable object storage service that allows you to store and retrieve any amount of data at any time. This section will focus on S3 and S3 vectors.
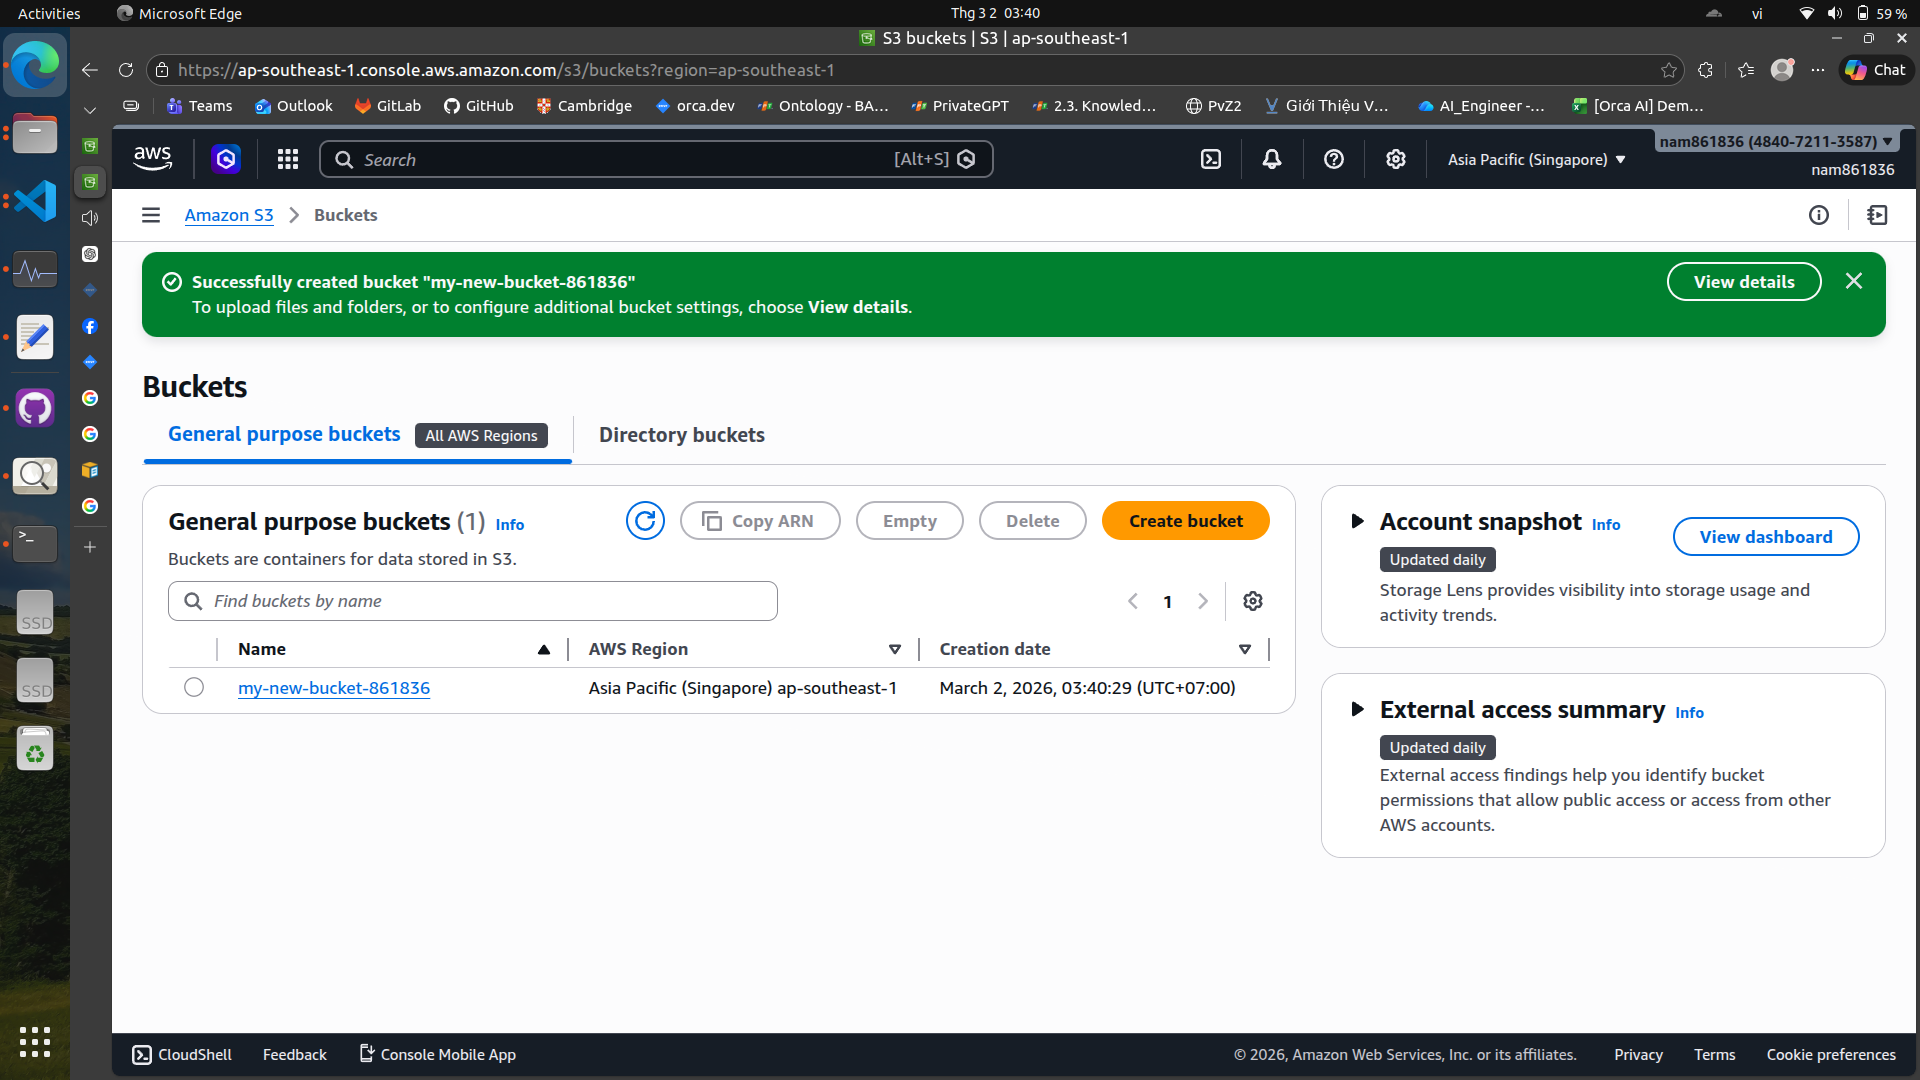
Create a new S3 bucket#
Name your bucket and choose a region. Note that your bucket name must be globally unique across all AWS users.
Upload files to your S3 bucket#
You can upload files directly through the AWS Management Console or use the AWS CLI for larger uploads. In this example, I will use Python and Boto3 to upload a file to S3.
import boto3
from botocore.exceptions import ClientError

def upload_file_to_s3(file_path, bucket_name, object_name=None):
    """
    Upload a file to an S3 bucket

    :param file_path: Local path to the file you want to upload
    :param bucket_name: The name of the S3 bucket
    :param object_name: The S3 object name (path inside bucket). If None, uses the local filename.
    :return: True if upload succeeded, False otherwise
    """
    # If no specific s3 object name provided, use the filename
    if object_name is None:
        import os
        object_name = os.path.basename(file_path)

    s3_client = boto3.client("s3")
    try:
        s3_client.upload_file(file_path, bucket_name, object_name)
        print(f"Uploaded {file_path} to s3://{bucket_name}/{object_name}")
        return True
    except ClientError as e:
        print(f"Upload failed: {e}")
        return False

# Usage example
upload_file_to_s3("local/file.txt", "my-s3-bucket", "folder/file.txt")
Download files from your S3 bucket#
You can also download files from S3 using the AWS CLI or Boto3
import boto3

def download_file_from_s3(bucket_name, object_key, local_path):
    """
    Download a file from an S3 bucket to your local machine.

    :param bucket_name: The name of the S3 bucket
    :param object_key: The key (path/filename) in the bucket
    :param local_path: Where to save the file locally
    """
    s3 = boto3.client("s3")

    try:
        s3.download_file(bucket_name, object_key, local_path)
        print(f"Downloaded s3://{bucket_name}/{object_key} to {local_path}")
    except Exception as e:
        print("Download failed:", e)

# Example usage
download_file_from_s3("my-s3-bucket", "path/in/s3/myfile.txt", "myfile.txt")
S3 Vectors#
S3 can also be used to store vector embeddings, which are essential for RAG systems.
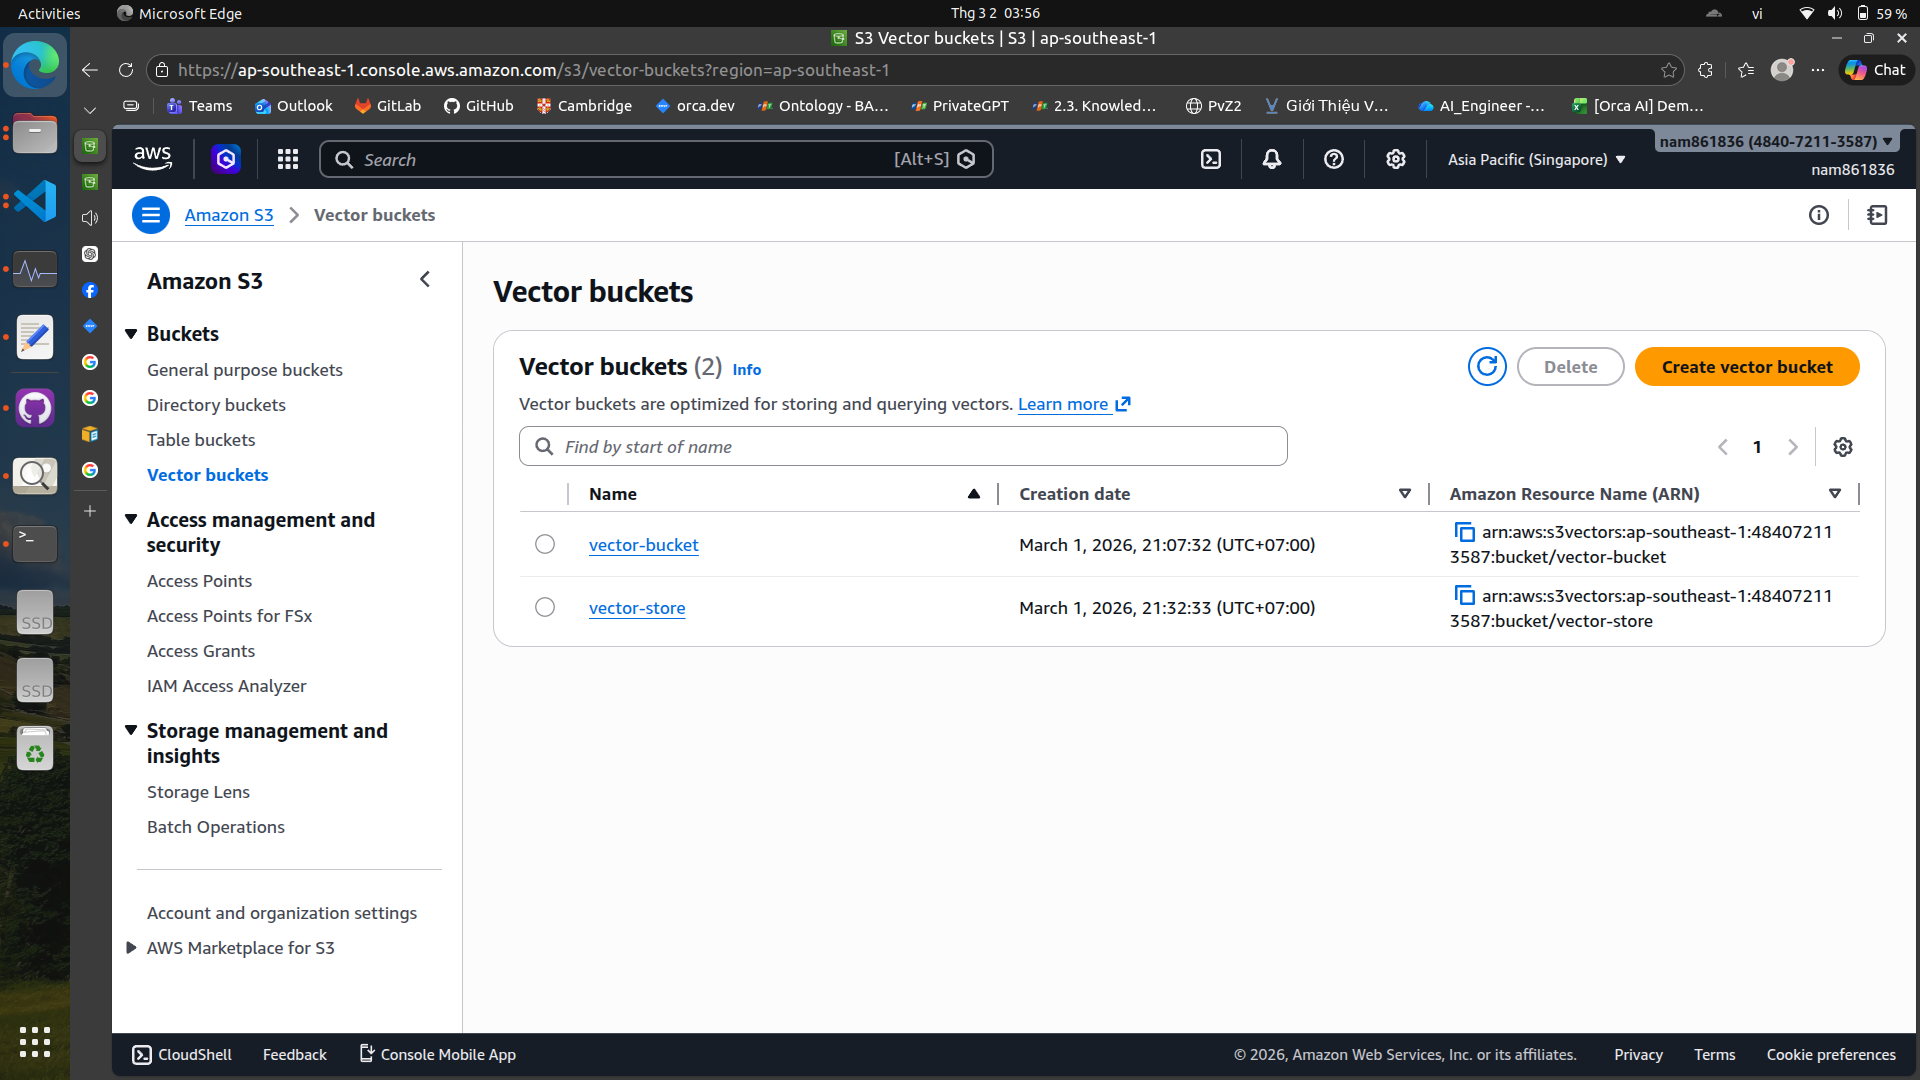
Create a vector bucket#
To create a vector bucket, you can use the AWS CLI, web console or Boto3
import boto3

s3vec = boto3.client("s3vectors", region_name="ap-southeast-1")

VECTOR_BUCKET = "vector-store"

s3vec.create_vector_bucket(
    vectorBucketName=VECTOR_BUCKET,
    # tags={"value": ""},
)

s3vec.create_index(
    vectorBucketName=VECTOR_BUCKET,
    indexName="my-index",
    dataType="float32",
    dimension=1024,
    distanceMetric="cosine",
    # Add your index configuration parameters here
)

print("Bucket & index created!")
Load vectors into S3 vector bucket#
import logging
import boto3
import numpy as np
from botocore.exceptions import ClientError
from langchain_aws import BedrockEmbeddings

# Define constants for bucket and index names
VECTOR_BUCKET = "vector-store"
INDEX_NAME = "my-index"

logging.basicConfig(level=logging.INFO)
logger = logging.getLogger(__name__)

def main():
    """Entry point for the example. Uses the AWS SDK for Python (Boto3)
    to create an Amazon Bedrock client. Then lists the available Bedrock models
    in the region set in the callers profile and credentials.
    """
    docs = [
        "Artificial intelligence is transforming many industries.",
        "S3 Vectors provide scalable vector storage on AWS.",
    ]

    try:
        embeddings = BedrockEmbeddings(
            model_id="cohere.embed-english-v3",
            region_name="ap-southeast-1",
            aws_access_key_id=,
            aws_secret_access_key=,
        )
        s3vec = boto3.client("s3vectors", region_name="ap-southeast-1")

        for i, text in enumerate(docs):
            res = embeddings.embed_query(text)
            emb = np.array(res, dtype=np.float32)

            s3vec.put_vectors(
                vectorBucketName=VECTOR_BUCKET,
                indexName=INDEX_NAME,
                vectors=[
                    {
                        "key": f"doc-{i}",
                        "data": {"float32": emb.tolist()},
                        "metadata": {"source": f"doc-{i}", "text": text},
                    }
                ]
            )
        logger.info("Vectors ingested to S3!")
    except ClientError as e:
        logger.error(f"AWS ClientError: {e}")
    except Exception as e:
        logger.error(f"An error occurred: {e}")

if __name__ == "__main__":
    main()
4. Amazon ECR (Elastic Container Registry)#
Amazon ECR is a fully managed container registry that makes it easy to store, manage, and deploy Docker container images. It integrates with Amazon ECS and EKS, allowing you to easily deploy your
containerized applications.
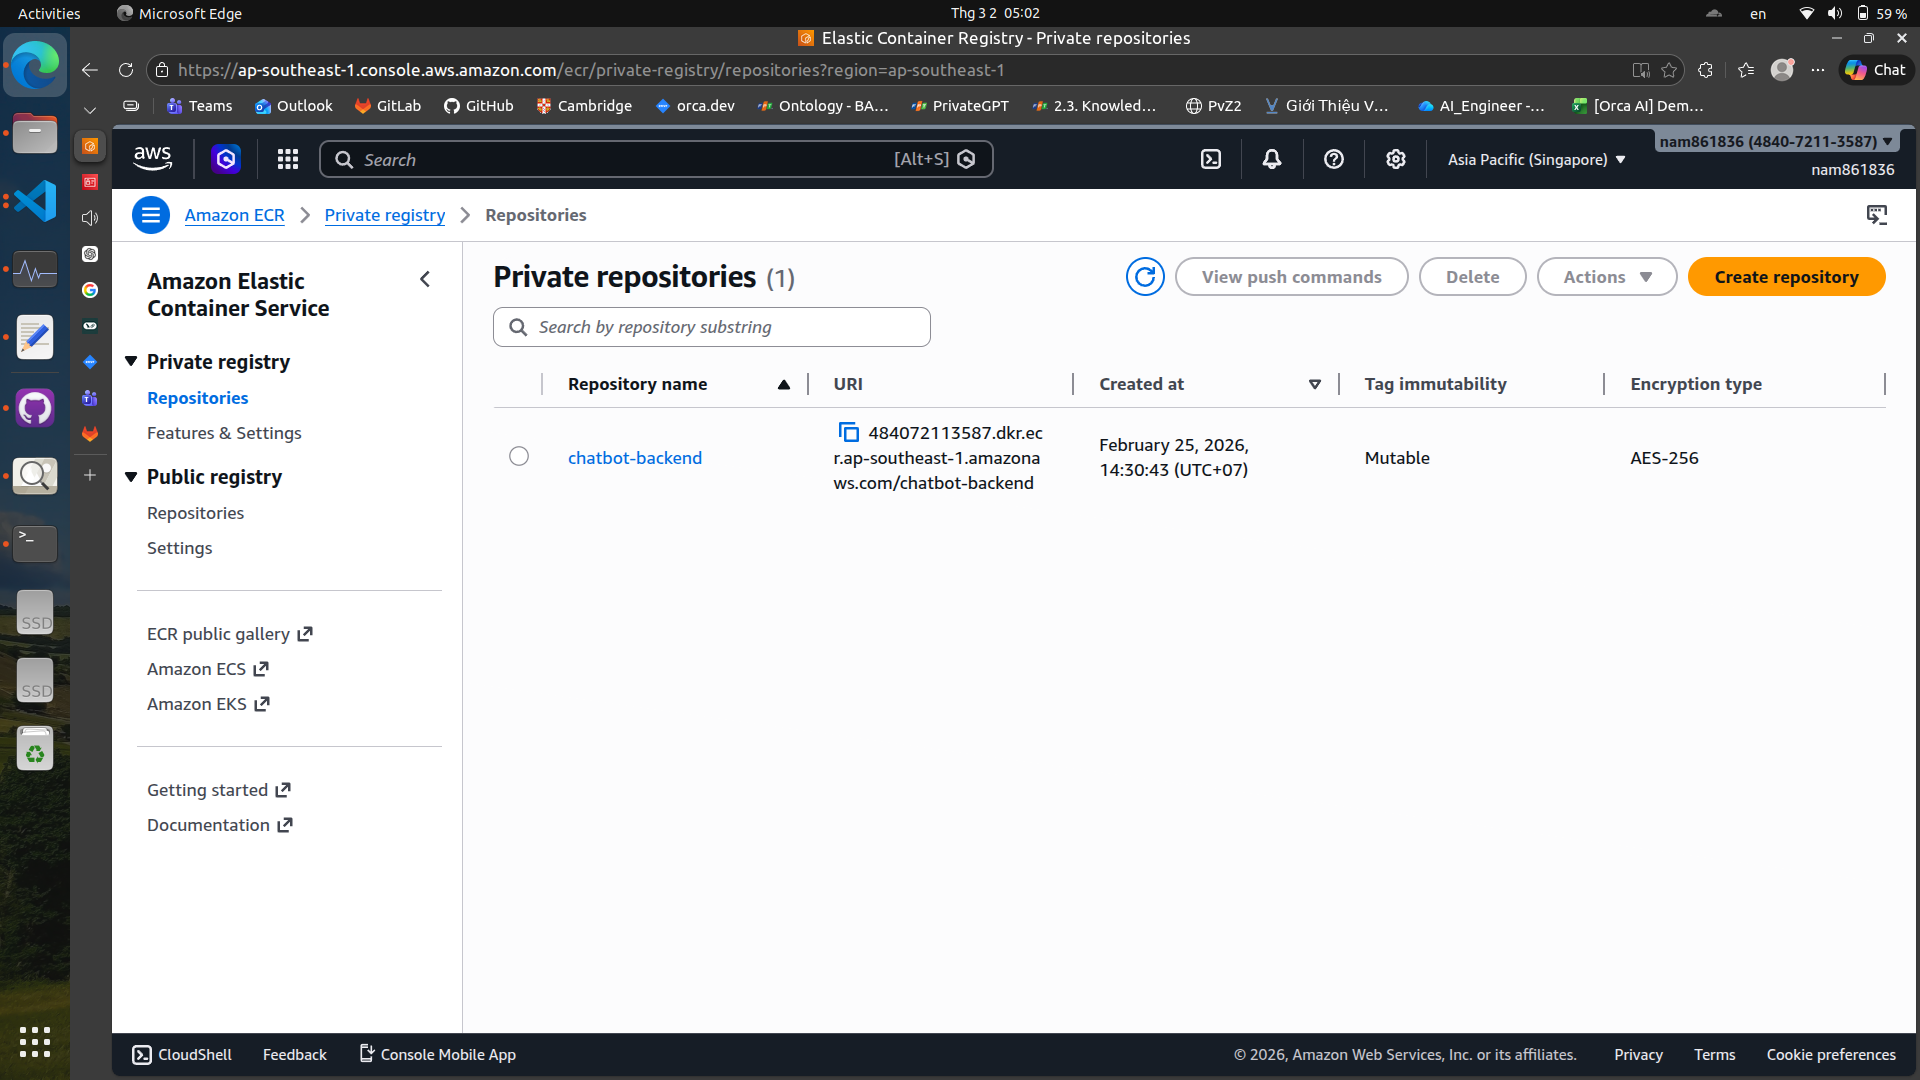
To create a new repository in ECR, you can use the AWS web console
After creating the repository, you can push your Docker images to ECR. You can do it in a CI/CD pipeline or manually using the AWS CLI.
For example, here is a GitHub Actions workflow snippet in yaml that builds a Docker image and pushes it to ECR:
backend:
  runs-on: ubuntu-latest
  steps:
    - uses: actions/checkout@v4

    # Config AWS credentials
    - name: Configure AWS credentials
      uses: aws-actions/configure-aws-credentials@v4
      with:
        aws-access-key-id: ${{ secrets.AWS_ACCESS_KEY_ID }}
        aws-secret-access-key: ${{ secrets.AWS_SECRET_ACCESS_KEY }}
        aws-region: ${{ secrets.AWS_REGION }}

    # Login ECR
    - name: Login to Amazon ECR
      run: |
        aws ecr get-login-password --region ${{ secrets.AWS_REGION }} \
          | docker login --username AWS --password-stdin ${{ secrets.AWS_ACCOUNT_ID }}.dkr.ecr.${{ secrets.AWS_REGION }}.amazonaws.com

    # Build backend
    - name: Build backend image
      run: |
        cd chatbot
        docker compose build backend

    # Tag & Push backend
    - name: Tag and push backend image
      run: |
        cd chatbot
        ECR_REPO=${{ secrets.AWS_ACCOUNT_ID }}.dkr.ecr.${{ secrets.AWS_REGION }}.amazonaws.com/chatbot-backend
        docker tag chatbot-backend:latest $ECR_REPO:latest
        docker tag chatbot-backend:latest $ECR_REPO:${{ github.sha }}
        docker push $ECR_REPO:latest
        docker push $ECR_REPO:${{ github.sha }}
5. Amazon EC2 (Elastic Compute Cloud)#
Amazon EC2 provides resizable compute capacity in the cloud. It allows you to run virtual servers, known as instances, to host your applications. You can choose from a variety of instance types optimized for different use cases, such as compute-optimized, memory-optimized, or GPU instances.\
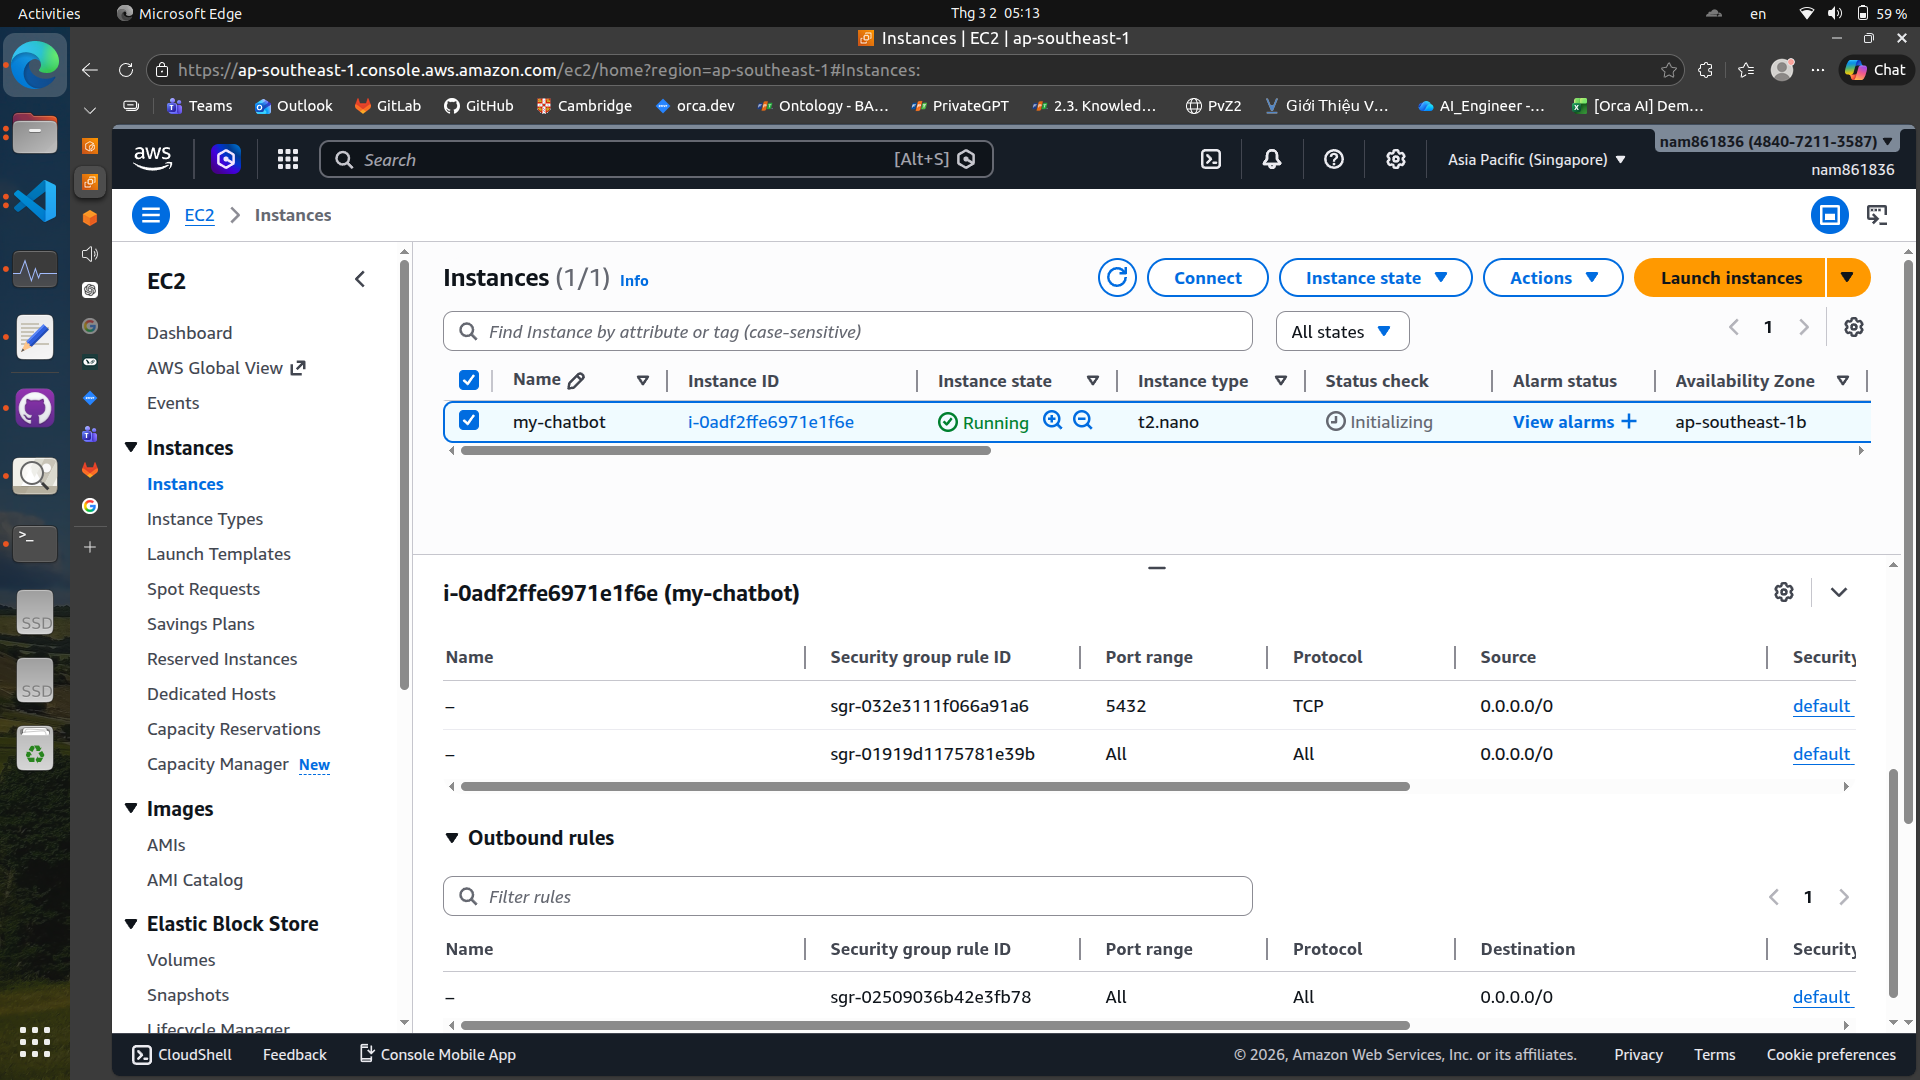
Launch an EC2 instance#
To launch an EC2 instance, you can use the AWS web console or the AWS CLI.
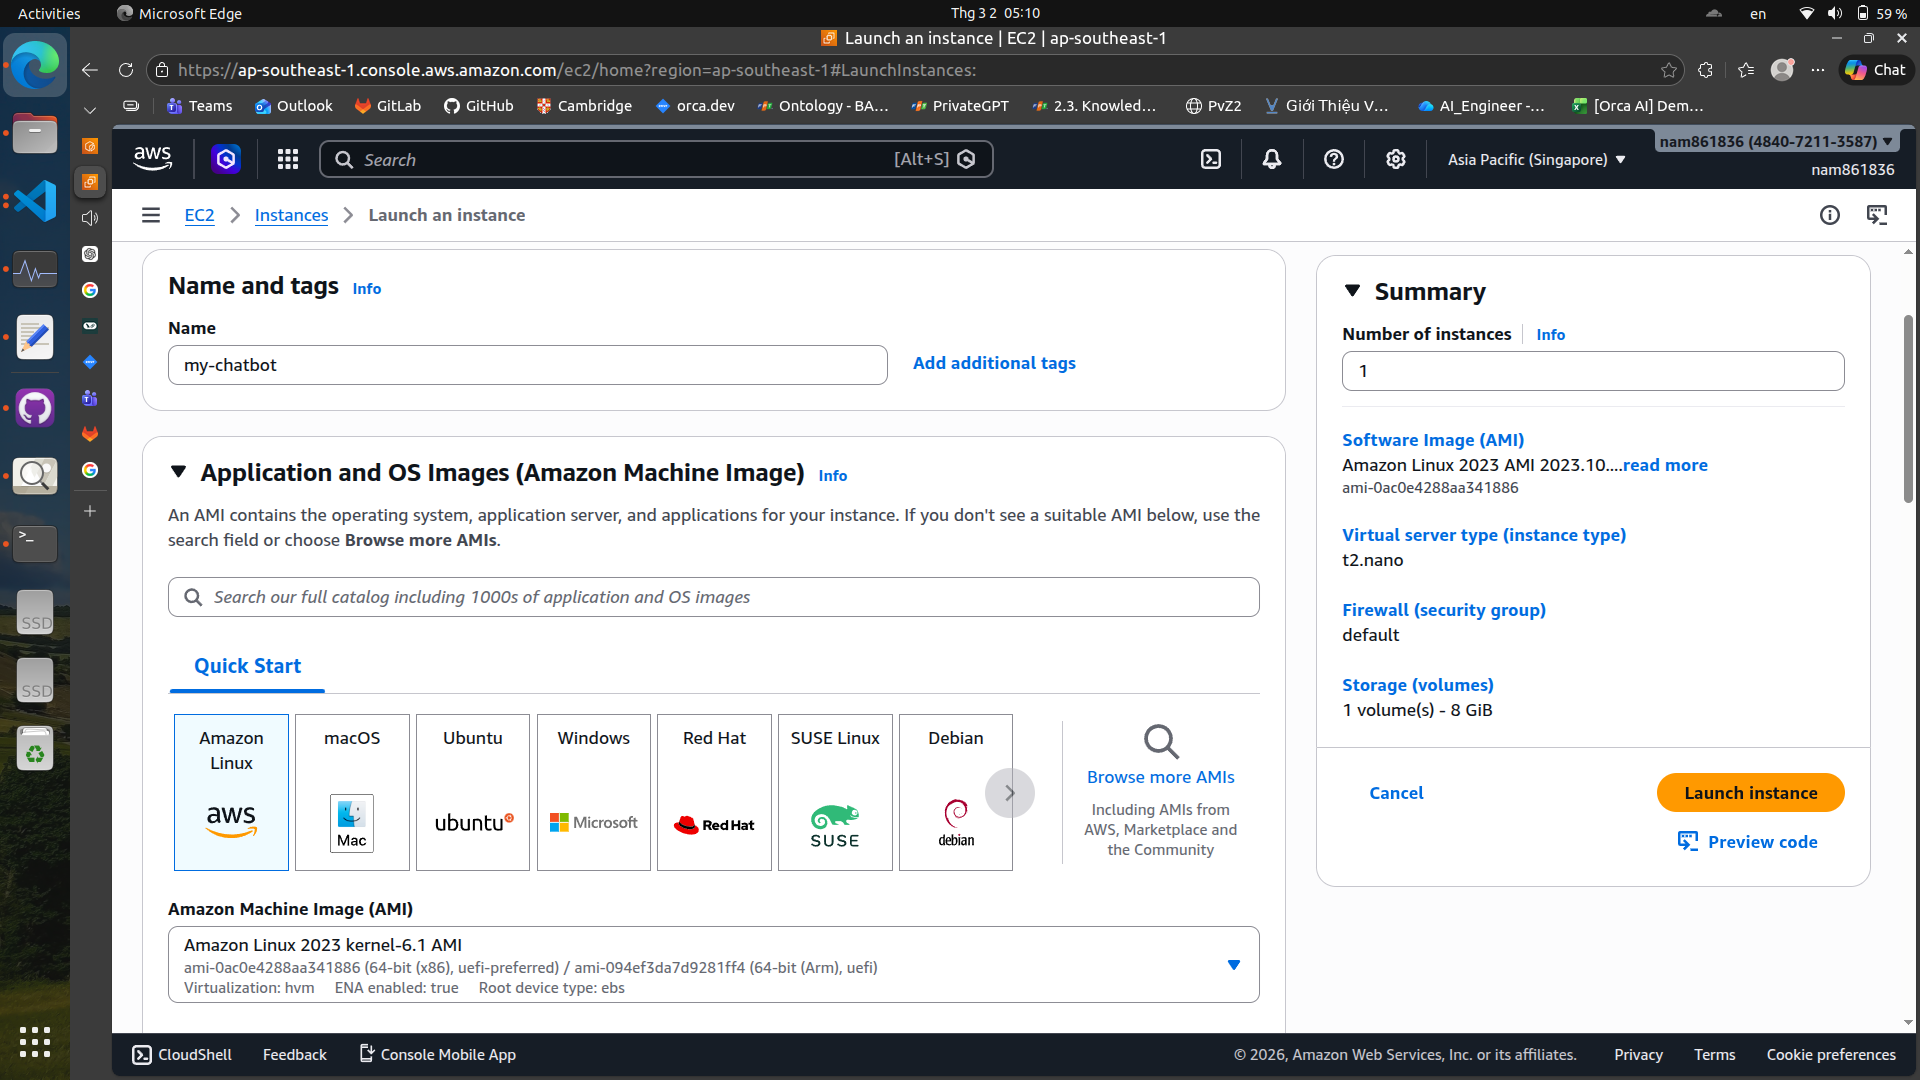 In the launch wizard, you can choose the instance type, configure security groups, and set up key pairs for SSH access.
Remember to set inbound rules and outbound rules in your security group to allow necessary traffic (e.g., HTTP, HTTPS, SSH).
Deploy applications on EC2#
Once your EC2 instance is running, you can SSH into it and deploy your applications. You can use various deployment methods, such as manually copying files, using CI/CD pipelines, or container orchestration tools like Docker Compose or Kubernetes.
For example, here is a GitHub Actions workflow snippet in yaml that deploys an application to an EC2 instance:
deploy:
  runs-on: ubuntu-latest
  needs: [backend, frontend] # deploy only after images are built & pushed
  steps:
    - name: Checkout repo
      uses: actions/checkout@v4

    # Setup SSH
    - name: Install SSH key
      uses: webfactory/ssh-agent@v0.9.0
      with:
        ssh-private-key: ${{ secrets.EC2_SSH_KEY }}

    # Deploy on EC2
    - name: Deploy to EC2
      run: |
        ssh -o StrictHostKeyChecking=no ubuntu@${{ secrets.EC2_HOST }} << 'EOF'
          # Login to ECR
          aws ecr get-login-password --region ${{ secrets.AWS_REGION }} \
            | docker login --username AWS --password-stdin ${{ secrets.AWS_ACCOUNT_ID }}.dkr.ecr.${{ secrets.AWS_REGION }}.amazonaws.com

          cd ~/chatbot   # wherever your docker-compose.yml lives on EC2

          # Pull new images
          docker compose pull backend
          docker compose pull frontend

          # Restart services
          docker compose up -d backend frontend

          # Optional: cleanup old images
          docker image prune -f
You can also use AWS CLI to manage your EC2 instances, such as starting, stopping, or terminating instances, and checking their status.
# Start an EC2 instance
aws ec2 start-instances --instance-ids i-0123456789abcdef0
# Stop an EC2 instance
aws ec2 stop-instances --instance-ids i-0123456789abcdef0
# Terminate an EC2 instance
aws ec2 terminate-instances --instance-ids i-0123456789abcdef0
# Check instance status
aws ec2 describe-instances --instance-ids i-0123456789abcdef0
There are some services that you can use with Langchain AWS
Reference: https://docs.langchain.com/oss/python/integrations/providers/aws